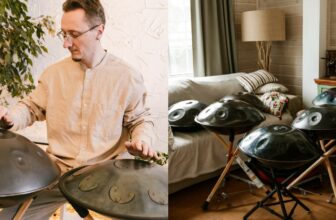
Setting up a home recording studio is now accessible to all and can be done on a low budget. It is certainly possible to create hit records from a humble bedroom recording studio.
Setting up a home recording studio is not as daunting as it may sound. It just takes a few essential items.
When setting up a recording studio, you’re not just finding a cheaper way to record. You’re also working on very useful recording skills, as well as finding new ways to develop your sound through music production.
What you will need:
- A computer (PC/Mac) – Technically, you can alternatively record on a tablet such as an iPad, but a PC or Mac is advised.
- Recording Software – Known as a DAW (Digital Audio Workstation) Free options will also work.
- An audio interface (Transmits the signal from your microphone and/or instruments to your computer)
- Microphone(s) – Including a Mic Stand and a Pop-Filter
- Cables – XLR and 1/4″ cables are the most common ones.
- Studio Monitors and/or headphones – You will need at least one of these to listen to your music properly. Though it is highly recommended that you get both.
- Acoustic Treatment (recommended)
Optional
- MIDI Controllers (Optional)
Check out our list of some of the best home studio packages and bundles as they include most of the necessary gear to get up and running with home recording!
Contents
1. Computer or Tablet
The first thing that you’re going to need, as with most things in the 21st Century, is a computer. This can be a desktop computer or a laptop. PC or Mac.
You do not need to spend $1000 on a laptop to produce good quality music, you just need something that performs pretty well with low amounts of latency.
Make sure that your computer meets the minimum system requirements for your recording software (i.e. your DAW, more on this below). For example, these are the minimum system requirements for Ableton Live 12.
The computer you use will affect other parts of this setup in terms of software but when you are just starting out, anything will do.
Computers with higher specs will be able to handle a lot more processing, and therefore you’ll be able to use my plugins at once (more on plugins below). If you have a low-spec machine, it may not be able to handle certain processing very well and may lag quite a lot. This can negatively impact your workflow and make it difficult to produce music.
Technically, you could even use a good-quality tablet for your home recording, but we would certainly recommend using a computer instead of this. If you want to use a tablet, you may need to get some gear that is compatible with your device (e.g. an audio interface that works with your tablet, compatible MIDI controllers if you want to use them, etc.)
2. Recording Software (DAW)

The next thing you will need is some software to record and edit your music with. There are many choices of DAWs out there but some of the most popular ones include Logic Pro, Pro Tools, Ableton Live, Cubase, and GarageBand.
Some DAW programs are free but most come with a price. These prices do vary a lot.
For several years, Pro Tools has been seen as the “industry standard” DAW for audio recording and mixing. It’s available on both Mac and PC but does come with a hefty price tag.
Logic Pro and GarageBand are both Mac-only DAWs so if you are planning on using a PC, these will not work. However, if you do own a Mac, these are both very user-friendly and both have their own plus points. Logic Pro, being that it is not only a great piece of software for recording, but it’s also great for MIDI sequencing if you ever want to get into that side of music.
GarageBand’s main plus point is that it’s totally free for Mac users. It’s also very basic compared to the other DAWs mentioned but can still get the job done so I would recommend this as a starting point to anyone who’s a bit bewildered by confusing computer software.
Another fantastic DAW is Ableton Live, This can be used to record music and is also very useful for live performances, so if you’re thinking about getting DAW software for both recording and performance, then check that out.
Plugins (VST, AU, AAX)
Also, people often talk about external audio plugins (VST, AU, AAX). If you’re new to music recording and production then you can mostly ignore these for starters.
However, certain genres make heavy use of certain plugins, such as vocal plugins. Therefore it might be worth checking those out.
Just get used to working with the stock features available in your DAW (these are also referred to as the stock plugins). After that, you can check out some individual plugins, or if you’re feeling like upgrading your setup in one go, then check out our list of plugin bundles, as it can work out cheaper and easier this way.
Also if you are on a low-powered machine, then the stock plugins in your DAW will usually put far less load on your CPU than external plugins.
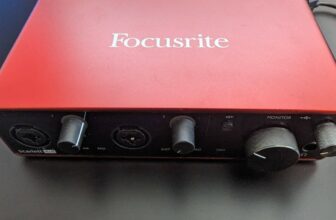
3. Audio Interface
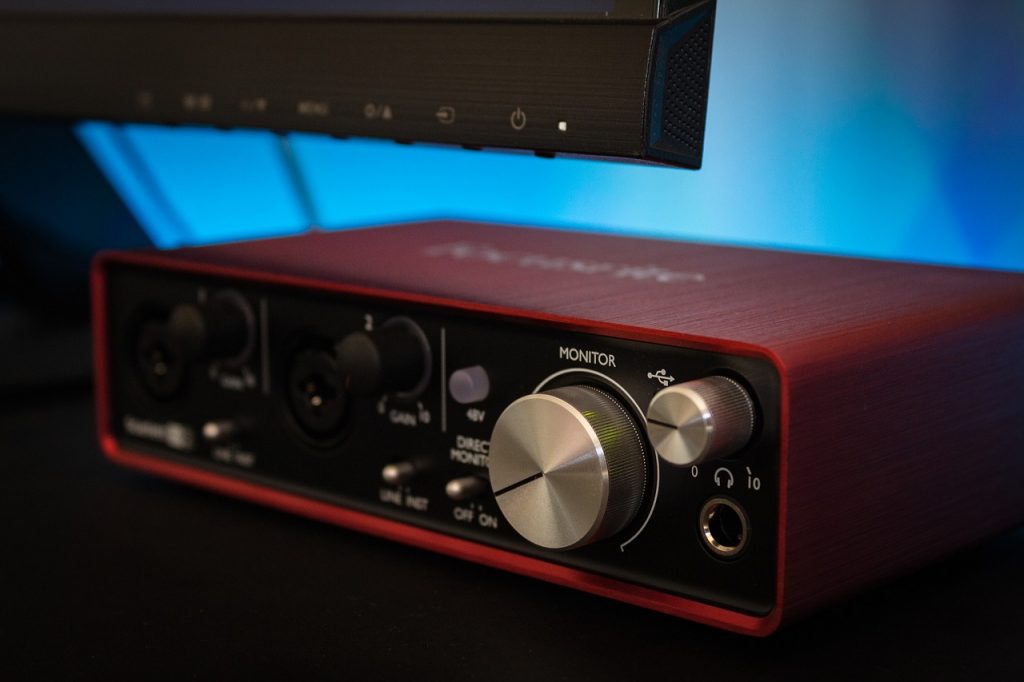
The next step is to bridge the connection between your microphones/instruments and your computer. An audio interface is a device that you use to connect your microphones to and set the levels at which your DAW is inputting up the sound. The interface is designed to take the analog signal coming from your sound source and convert it into a digital signal to be used and manipulated within your computer.
If you have an audio interface, then you don’t even need to buy a mixer, because all of the mixing can be done digitally on your computer’s DAW software.
Interfaces come in several shapes and sizes and more importantly, with a number of different inputs. Inputs correspond to the number of microphones or instruments you are using to record at any one time and will come in the form of XLR (most microphones) and ¼” TRS (guitar lead or other instruments).
This means that if you have opted to use just one microphone, a basic singular input interface will suffice. However, as I mentioned, if you are looking to professionally record a drum kit you will need a large number of microphones and this means that you will have to look around for a larger interface.
Without this piece of kit, your microphones would be rendered useless for digital recording. One exception to this is a USB microphone but I would still recommend the traditional setup we have discussed. Most interfaces are connected to your computer via USB and should all come with a cable to make this connection.
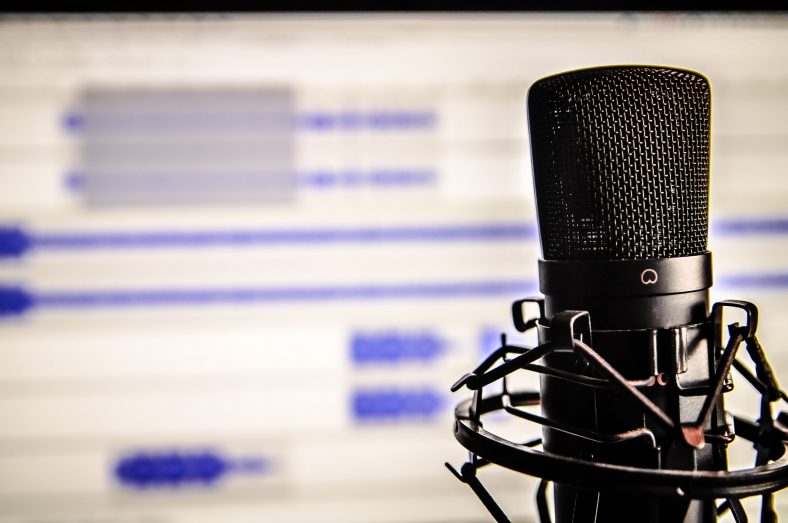
4. Microphones

There are two main types of microphones: Dynamic and Condenser.
The Shure SM57 is extremely versatile for recording instruments and Shure SM58 is a classic for capturing vocals.
Rode NT1 is a Large-diaphragm cardioid condenser microphone.
These are both very versatile microphones and they’re actually both built in a very similar manner, but the SM 58 is designed in a way that’s better for vocals.
Dynamic microphones
Dynamic mics, like the SM57 and SM58, are very useful for home recording because they do not take in as much background noise and echoes from your room. Dynamic mics are usually very durable.
If you have not put effort into acoustic treatment in your room and/or if there is a lot of background noise, then these can often be a better option. Condenser mics can pick up way too much background noise, traffic from outside, doors banging, and people talking. Therefore, if you have a high-noise environment. Then, dynamic microphones might be your best bet.
Condenser Mics
Condenser microphones, like the Rode NT1 mentioned above, are made in quite a different way and they are far more sensitive than dynamic mics, which makes them great for high-quality recording.
This also comes at a cost as mentioned above, because you will have a lot of background noise unless you have a well-treated room. Condenser mics are usually more fragile than dynamic mics because of their design.
They require phantom power on your interface, so make sure to get an audio interface that supports this.
Microphone Stand
You definitely need a microphone stand when recording, as this will hold the microphone in the right position and minimize vibrations and noise caused by moving the microphone on cable by hand.
Pop Filter
Pop filters are cheap pieces of equipment that prevent the recording of explosive sounds when you talk (p from the word “popping” is the perfect example). They are placed in front of the microphone.
If you want to get a good quality recording then definitely buy a pop filter. They are very affordable and they will also stop you from having to spend countless hours trying to restore vocal audio quality later on.
Get the best possible sound quality at the source, don’t rely on editing later on!
Building up a Mic Set
Depending on the quality of sound you are looking to achieve, it may be necessary to splash out on a range of different microphones to cover all of your recording needs but you could just use some basic mics for everything and try to mix and master it to the best standard you can. This method will work a lot better if you record your tracks one at a time!
For example, if you wanted to record yourself playing acoustic guitar and singing at the same time, it would be wise to record the guitar first and then record your vocals over the top as you will end up with a much clearer recording, making mixing a lot easier and in turn, improving the quality of your end product. This method of laying down tracks is usually what happens in a professional studio.
The only problem you may run into when using only one mic is if you’re looking to record something with a lot of different parts, such as drums. As there are so many different parts of a drum kit, all producing very different but equally important sounds, at different amplitudes, it’s very difficult to capture a good drum sound with one mic. This is something you may want to consider when building your setup. For more information, check out this article on how to record drums.
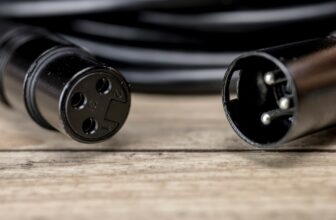
5. Cables
The main different types of cables that you will use are XLR cables and 1/4″ instrument cables (also referred to as ‘guitar cables‘ and ‘1/4 inch jacks’)
XLR cables are usually used for microphones. 1/4″ cables are used for guitars, and many other electronic instruments, such as keyboards sample pads, etc.
Keep in mind that there are two different types of 1/4″ cables. These are auto TS cables and TRS cables, which carry a mono and stereo respectively. So make sure to get the ones that are suitable for your instrument.
RCA cables are also sometimes used for connections to speakers.
There are also a host of other different types of cables such as MIDI cables, which we’ll talk about later in this article because they are not specifically necessary for all types of recording.
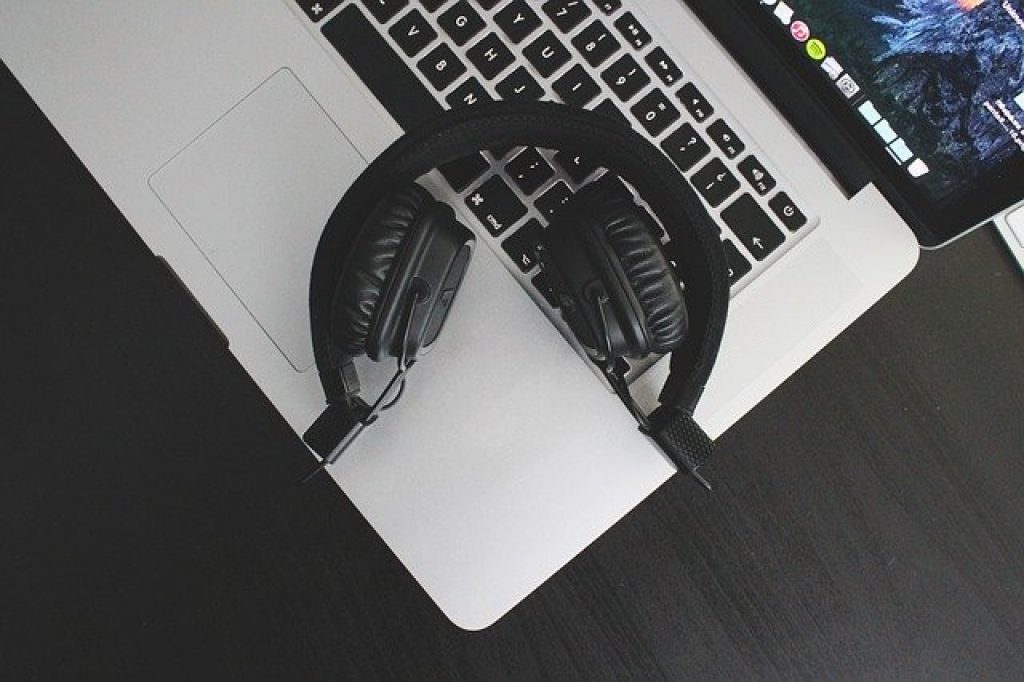
6. Headphones and Studio Monitors
You’ve now got everything that you need to record your music. However, you’re also going to need a set of headphones and a set of monitor speakers.
Studio monitors give you a much more accurate sound of the music (they are intended to give you a ‘flat frequency response’), which is quite different from consumer models of speakers and headphones, which often intentionally increase the bass or simply don’t have good sound quality.
Studio Monitors
I would always recommend a good set of studio monitors over any normal everyday speakers due to their superior sound quality and more importantly, frequency response.
Also, getting a set of studio monitor stands can help minimize the impact of vibrations on the sound.
This is incredibly important when listening back and mixing your music as you can hear a true representation of your sound. I’m sure most people would agree that listening to music on your Hi-Fi is better than listening on your phone. Well, studio monitors are the next step up.
Headphones
Headphones give you a different picture on your mix, they often give you a much better idea of your stereo depth when listening (i.e. panning between left and right).
Many modern music listeners will be listening on headphones and therefore you need to make sure that you mix well for your headphones as well as in speaker systems and studio monitors.
You should try to not spend all of your time mixing with headphones, try and to use studio monitors as much as possible. With headphones, you’re much more likely to listen at much higher levels without realizing it, and therefore damage your hearing. Check out our article on the dangers of our listening habits for more information.
Some recommended options are the Beyerdynamic Dt 770 Pro closed-back headphones or the AKG reference K 712, which are open-back headphones.
Open-back or closed-back?
Open-back headphones are not isolated. They are more comfortable to listen for longer periods. This is our recommended option if you plan to listen for long periods. Closed-back headphones are better if you are in a noisier environment and want to block out external sound.
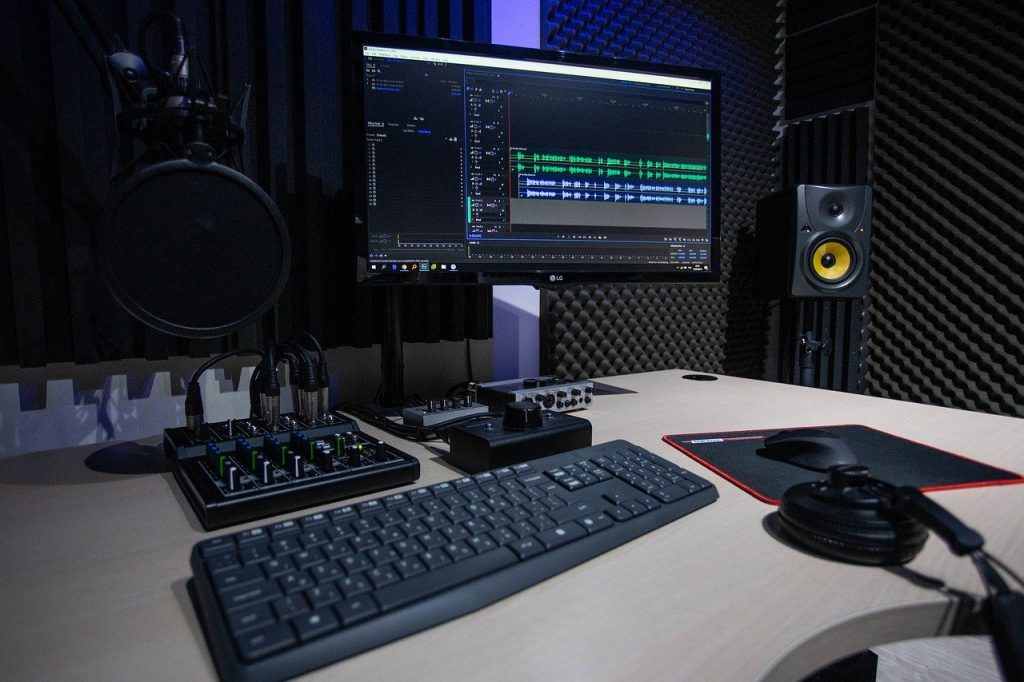
7. Acoustic Treatment
The ‘sound’ of your room is one of the most vital aspects of recording.
Acoustic treatment is the process of reducing reflections of sound from your room. It is intended to improve the sound quality of your recordings.
This is different from soundproofing, which is the process of minimizing noise in and out of a room.
If you record in a very echoey room, then this kind of really badly affects the quality of the sound, particularly if you are using condenser microphones.
Acoustic treatment is something that you will need to put some time into, particularly if you plan to record using microphones, and if you mix and master your own music. Otherwise, you will not be able to get an accurate picture of the sound, and you will not be able to make good mix decisions.
Professional recording studios are designed down to the very last detail to be the perfect recording environment. Everything from the shape of the room to the material of the floor and walls is considered when designing a studio. This is all done in the hope of removing the natural reverb of the room within your recordings so that a more controlled, and clean sound can be achieved.
For most people, altering the shape of your room is not an option but nevertheless, a few less costly things can be done to improve your recording space. The most important thing to consider is that you want to minimize the reflection of sound around your room. A sound will travel from the source directly to the microphone but will also travel from the source to walls and other surfaces where it will bounce off and then travel to the microphone.
Using acoustic panels and bass traps is the way to go for a home studio. Acoustic panels are designed to hang on walls and absorb sound to prevent them from reflecting against parallel walls. Bass traps are placed in the corners where a lot of sound reflection can occur and they do exactly what they say on the tin.
For more information check out this article from Sweetwater on acoustic treatment.
MIDI Controllers
MIDI controllers are very versatile tools that you can use to interact with your DAW software.
MIDI Mixer Controllers
These can be MIDI control surfaces such as a MIDI mixer controller, which is a piece of hardware that looks like an analog mixer, but actually controls the mixer on your software.
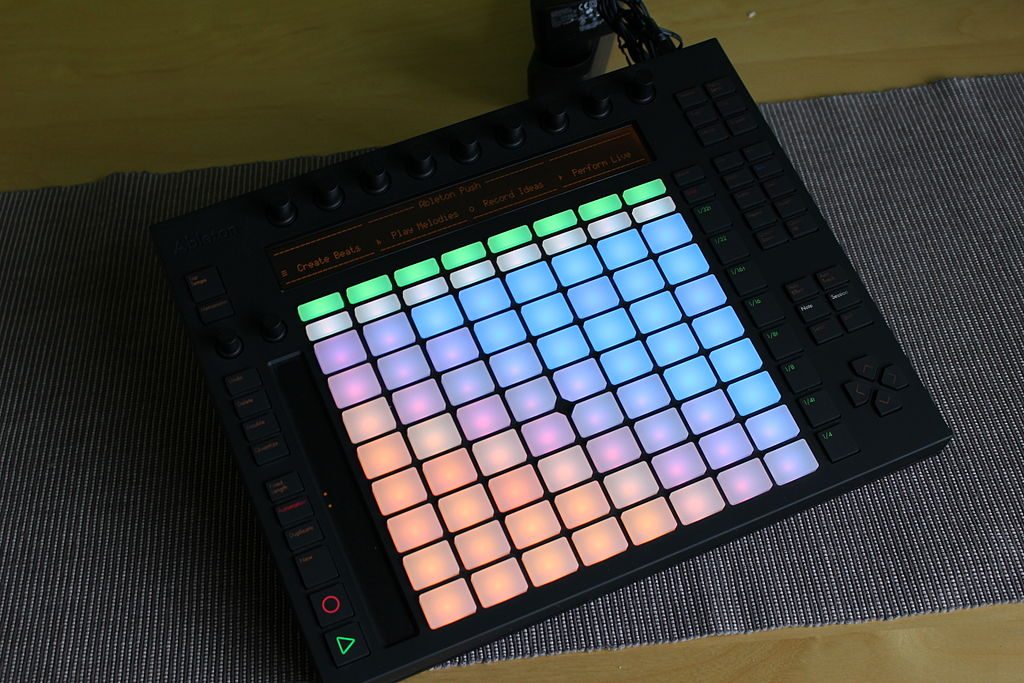
Control Surfaces
There are also more general types of control surfaces that can be used to control many different elements of your DAW. These usually include buttons, sliders, and knobs that can be assigned to different controls. Examples are the Ableton push (which integrates tightly with Ableton Live) the Akai APC 40 MKII, and the Novation launch pad. These are very useful for controlling your DAW without having to interact with your computer.
Check out our guide on the best control surfaces for Logic Pro X for more ideas.
MIDI Instruments
You can also have MIDI instruments such as MIDI keyboards and sample pads, etc. which can play virtual instruments and trigger samples on your DAW.
An 88-key MIDI Keyboard Controller is a great option as a MIDI instrument.
If you are using Ableton Live, then be sure to check out our article on the Best MIDI Controllers for Ableton Live.
None of these are mandatory for home recording, but you will quickly start to realize the benefit of using a MIDI controller once you get started. It can improve your workflow and I can also add a human element to your recordings.
Mixing and Mastering
Mixing and mastering are very different processes, although they can often involve the same tools.
Mixing is the process that blends together your individual tracks, such as vocals, guitars, synths, drums, etc. The objective is to create a balance within various instruments so they do not clash with each other or sound muddled.
Mastering is the final process that enhances the track by bringing up the volume to commercial levels and using tools for fine-tuning to ensure it sounds good on many different types of speakers and sound systems.
Should you mix and master your tracks yourself?
For most people, we recommend that you try to learn the process of mixing by yourself. But, you get a professional mastering engineer to master your tracks.
There are many different reasons for this. Check out our article on the differences between mixing and mastering for more information on this.
Advice on Starting Your Home Recording Studio
Recording music does not need to be a daunting task. You just need to get the essential items and learn the foundations.
1. Learn How to Record and Produce Music at Home
Learning the process of home recording is definitely accessible online through platforms such as YouTube and when reading blogs.
However, an issue with this approach is that it’s not in a well-structured format, and you may miss important pieces of information, as well as be subject to confusion through conflicting advice. It may also take you quite a lot of time to catch up on some essential concepts that would have been covered in a full course.
Therefore, we recommend that you check out this list of some of the best online music courses because it could save you quite a lot of time and improve your craft quite a lot.
2. Keep Learning about Music Recording, Production, and Theory
Recording music spans many different disciplines, and you should stay open to consistent learning and education. Check out our list of the best books for music producers for some inspiration.
Some other useful resources are the following posts:
3. Don’t fall into the Plugin Hoarding Trap
Try not to fall into the trap of downloading countless audio plugins as an attempted shortcut to success in music production and mixing. Don’t skip important steps in the process of learning how to process, record, and mix your music.
You can get a very wide depth of sounds simply by using the stock plugins on your DAW.
4. Good quality affordable gear is often fine to use!
Try not to listen to the audio ‘gurus’ online that criticize affordable recording gear. Of course, the very low-end budget items can often be bad quality, but good brands are bringing out affordable interfaces, mics, headphones, and studio monitors that will simply do the job quite well. There is always a process of ‘diminishing returns’ from very high-quality audio gear, spending your money on an entry-level or mid-range item might be fine to start with.
5. Finish Your Songs!
To get good at recording and producing music you need to just do it a lot! You need to get used to the process and you need to try out a lot of things.
This means you have to stop looking for perfection and know when to finish a song and move on to the next one. For more advice, check out our article for tips on how to finish tracks.
Summary
I hope this article has given you exactly the information you need to know to set up a home recording studio. While some gear is optional, most of the things listed above are absolutely crucial for a complete studio setup. If you have any questions, then please write them in the comment section below.