10 Home Recording Mistakes To Avoid
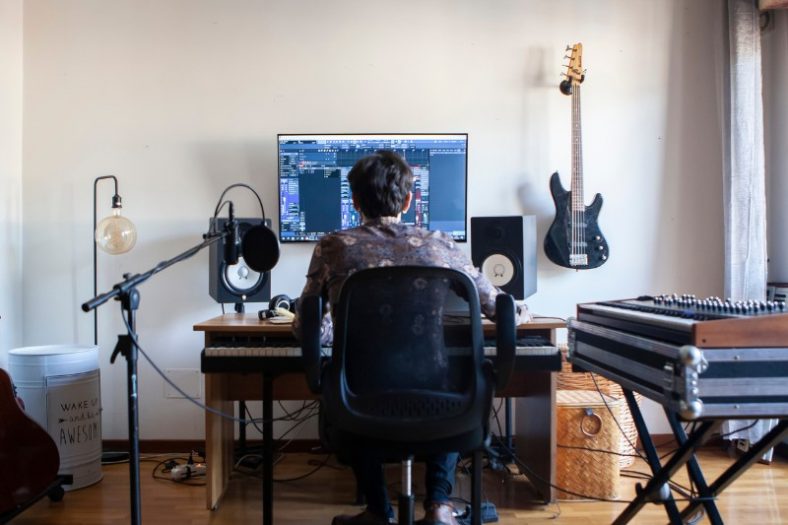
Contrary to a professional recording studio, a home recording studio is set up at home using basic recording gear. Home recording studios generally sit in a room that wasn’t properly acoustically treated and are operated by the recording musicians themselves instead of a professional audio engineer.
While some home recording studios are extremely sophisticated (to the point of being comparable to professional recording studios), most have very limited resources and are only used for recording vocals and instruments that can be directly connected to an audio interface (such as electric guitars and electronic keyboards).
Basic home recording studios will never be as good as professional recording studios, but that doesn’t mean they’re not effective. By knowing how to properly record themselves, stay-at-home musicians can get very good results using nothing but the recording gear they have access to.
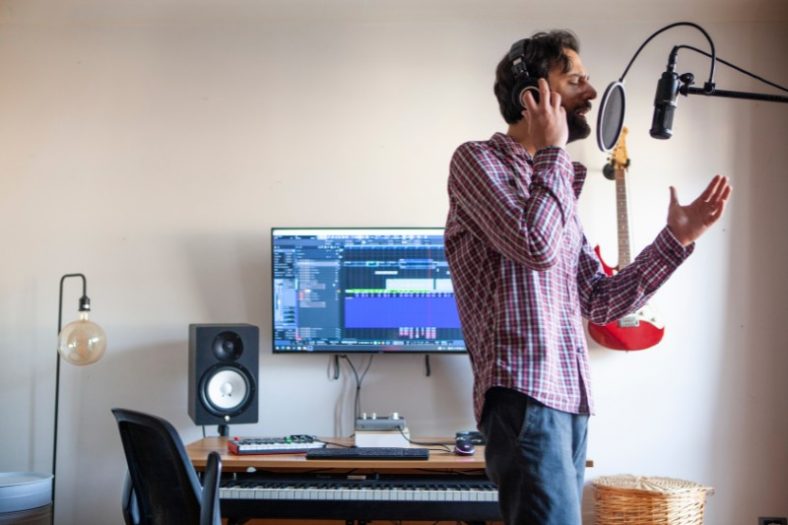
For this article, I will be considering the most basic possible version of a home recording studio, featuring nothing but the following:
- A laptop with a digital audio workstation (DAW).
- An audio interface.
- A microphone.
This is all the gear one needs to convincingly record vocals and direct-line instruments at home. But to make good recordings without the help of a professional audio engineer, one must also be aware of the most common home-recording mistakes out there.
Below, I’ve listed the 10 most impactful mistakes, which should be avoided at all costs.
Contents
- 1. Wrong mic positioning
- 2. Choosing the wrong room
- 3. Ignoring sources of noise
- 4. Using too much gain
- 5. Snubbing the pop filter
- 6. Being okay with a poor performance
- 7. Recording with latency
- 8. Recording vocals without any effects
- 9. Recording and exporting files at different bit depths and sample rates
- 10. Un-labeled and un-consolidated audio files
- Conclusion
1. Wrong mic positioning
Most recording artists struggle with mic positioning when they’re first starting. They either sing too close to the microphone or too far away, which can have a drastically negative impact on the quality of one’s recording.
As a rule of thumb, the singer should be sitting six to eight inches away from the microphone, depending on how loud he or she intends to sing. The goal is to ensure that the recording signal isn’t too loud or too quiet.
Signals that are way too loud can cause clipping, which is a form of digital distortion that can irreversibly change the texture, timbre, and quality of a vocal recording.
Signals that are recorded way too quietly have the opposite problem; since they’re barely noticeable, they need to be amped using gain. The problem is that applying too much gain to a signal can give way to an excessive amount of noise floor, making the vocal recording sound noisy and muddy.
2. Choosing the wrong room
Every home recording studio needs to be set up in the right room, and recording artists sometimes get this fundamental aspect wrong. Choosing the right room to set up a home recording studio is a form of art, and some knowledge of acoustics is more than welcome.
Unless a room is properly acoustically treated, it will always give way to some issues. But while some can easily be dealt with, others are too inconvenient to be ignored. Artists don’t need to be acoustic experts to set up a workable home recording studio; they just need to avoid doing silly mistakes.
If your bedroom sits next to a crowded room where cars pass by all day, then it’s probably NOT the ideal room to set up a home recording studio. The same applies to rooms with too much reverb; the fact that your voice sounds beautiful when you’re singing in the bathtub (probably because of the echo) doesn’t mean that the bathroom is the best place to record vocals—ideally, you should go for a room as dry (sonically speaking) as possible.
A good way to test the dryness of the room is to walk to the center of the room and clap. If there’s a noticeable echo, then it means the room has too much reverb to function as a proper site for a home recording studio.
3. Ignoring sources of noise

One of the most common mistakes that stay-at-home musicians make when recording is ignoring sources of noise. In a nutshell, all the things that produce sound within a room can be considered sources of noise, and some are more obvious than others.
Sources of noise are bad for recording for two main reasons: they can sometimes bleed into the actual recording, hence “appearing” in the final audio file; they can be distractive, hence hurting an artist’s performance during recording.
The sources of noise most artists tend to ignore are:
- Their computer: even though it’s used for recording, the computer should be placed as far away from the microphone as conveniently possible.
- Their phone: an artist’s phone should be either placed in silent mode or removed from the home recording studio completely, as it can be both noisy and incredibly distractive.
- Their headphones: while recording vocals, stay-at-home musicians need to use headphones to monitor the backing track. However, open-back headphones are so noisy that they can bleed into the recording. To be safe, artists should always rely on close-back headphones.
Learn more about how different types of headphones can interfere with your recording.
4. Using too much gain
Wrong mic positioning isn’t the only common home recording mistake that can utterly ruin a nice vocal recording. Using too much gain is a fatal flaw among beginners as well, and it can have a similar effect to recording too close to the mic, giving way to clipping and other unwanted sound artifacts.
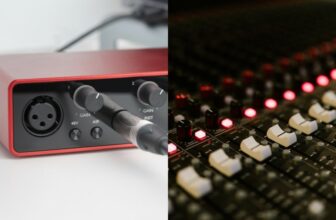
To get the gain right in your audio interface, you need to pay close attention to the volume unit indicator, also known as the volume meter. While not all audio interfaces come with a volume meter, virtually all DAWs have built-in meters. These are conveniently color-coded so musicians and audio engineers know when a recording needs more or less gain.
Ideally, the meter should be on the green when you’re recording. This way, you ensure that the recording signal contains enough headroom for you (or a professional mixing engineer) to work with. A little bit of yellow is okay, but red is a big no-no.
Most professional audio engineers recommend recording with -6dB to -12dB of headroom, meaning that the loudest point in the recording (also known as the peak) should never go over -6dB.
5. Snubbing the pop filter
When I listed the equipment of the most basic possible home recording studio in the introduction to this article, I didn’t mention a pop filter. But that doesn’t mean that stay-at-home musicians should record vocals without a pop filter.
Pop filters are often forgotten precisely because they’re so cheap. Despite their modest price and appearance, though, pop filters can have a determinant impact on the quality of a vocal recording by taming loud pops, clicks, and wheezing that often get in the way of an artist’s performance.
Considering the importance of pop filters, there’s really no excuse not to have one in your home recording studio. If money is an issue, you can always come up with a makeshift pop filter by using home supplies and even a sock.
6. Being okay with a poor performance
Home recording studios differ from professional recording studios in many ways. It’s not just the material differences—the expensive equipment, the acoustically-treated room, the big console… They can have a disparate psychological impact on the performer as well.
In a professional recording studio, artists tend to be surrounded by experienced engineers who will judge and guide them through their performances. Stay-at-home musicians, though, will most commonly record while sitting alone in their chairs in front of their microphone.
In this kind of scenario, it’s easier to feel like a mediocre or even poor performance is good enough to call it a day. It’s like being at the office when the boss is not around: why will you continue to push yourself to the limit when you can just close the boring spreadsheets and go watch some videos on YouTube?
Needless to say, being okay with a poor performance is a fatal home recording mistake that should be avoided at all costs. You may be sitting alone in a dark room and singing to a cheap microphone, but that doesn’t mean you should give less than 100% of what you have into your performance.
7. Recording with latency
According to the Oxford Languages dictionary, latency is “the delay before a transfer of data begins following an instruction for its transfer.” In terms we can all understand, recording latency occurs when there’s a time gap between an artist’s performance and the monitoring signal he or she is listening to.
Recording with latency is yet another fatal beginner’s mistake that’s so easy to solve it should never be allowed. If you feel like there’s latency in your recording, all you need to do is open the settings/preferences in your DAW and reduce the buffer size. This will make your computer’s CPU work harder to ensure that there’s no noticeable delay between performance and monitoring.
Well, what if your CPU cannot cope with a low buffer size? The solution is to try to get rid of all the things you don’t need in your DAW project. For example: don’t record the vocals to a beat on the same project where you have all the different instruments in the beat. Instead, export the beat as a single .wav file and record the vocals in a new project with just the playback track.
8. Recording vocals without any effects

When a singer arrives at a professional recording studio, one of the first things he or she is asked is: “Do you need any effects on the voice?” That’s because experienced audio engineers know that when singers perform with effects they tend to be more confident and do a better job.
However, stay-at-home musicians often forget that they can insert effects in their vocals during recording so they can listen to their own voices in a more flattering way. This doesn’t mean that the effects are recorded: you can still get a clean recording signal and have full control over the processing of the vocals later. What’s happening is that you’re monitoring your voice with effects while you’re singing—which translates into a better performance 99 out of 100 times.
The best effects to apply to vocals during recording are the compression (which makes the vocals sound tighter), reverb (which gives you more room to breathe in-between verses), delay (which, if synced, enhances your sense of rhythm), and autotune (in case that’s the sound you’re ultimately going for).
9. Recording and exporting files at different bit depths and sample rates
Bit depth and sample rate are those “weird” numbers you see on your DAW’s export and audio-file information windows. They look something like “24-bit 44.1 kHz.” Understanding what they do is important, but unnecessary unless you’re planning on learning more about advanced audio engineering. But they do can impact one’s recording…
So, how should you deal with them? To sum it all up in one word, with… Consistency. Basically, you just need to know which bit depth and sample rate you’re using for recording so you can use the same bit depth and sample rate when exporting. Otherwise, you risk losing audio quality.
10. Un-labeled and un-consolidated audio files
This one matters especially when artists are trying to send their projects to other audio engineers so they can be mixed and mastered, but also from a general organizational standpoint. It’s not exactly a recording mistake, but a post-recording blunder that, unfortunately, many inexperienced musicians tend to commit.
After recording, don’t forget to label everything as thoroughly as possible so that you and your future collaborators know which track refers to what. Consolidating recordings is also extremely important, as un-consolidated tracks can get scattered all over when they’re loaded into a new project for mixing and mastering.
To consolidate a track, all you need to do is to make sure that all the different takes in one recording (say, the main vocal featuring five different takes sliced up into one) are reunited into one single audio file. Most DAWs have an automatic consolidate option, but you can always consolidate tracks by recording them into a new single track inside the DAW.
Conclusion
We live in a fascinating age of democratized recording, in which anyone can come up with quality recordings without leaving the house and spending but a few hundred dollars on basic recording equipment. And while the standard home recording studio is still below par when compared to a professional one, it’s refreshing to think that all one needs to come up with a number-one hit in this day and age is a laptop, an audio interface, and a microphone.
To make sure that your home recordings are as good as they can be, learn more about the process of capturing sound and, most importantly, avoid the common mistakes that have gotten in the way of so many stay-at-home musicians.