What is Audio Clipping (What Causes it and How to Prevent It?)
Audio clipping occurs when a waveform is amplified past its maximum allowed limit, leading to distortion and a reduction of audio quality. Clipping is caused by overdriven waveforms, which require more power from an amplifier than the power it can deliver.
Preventing clipping is important because it can negatively affect sound quality and potentially damage audio equipment (speakers in particular).
Digital clipping can be easily avoided with the use of a Limiter, a type of compressor with a very high ratio that prevents sounds from passing beyond a certain threshold. Reducing the signal level is also an effective way of dealing with clipping.
Contents
How to identify clipping in music?
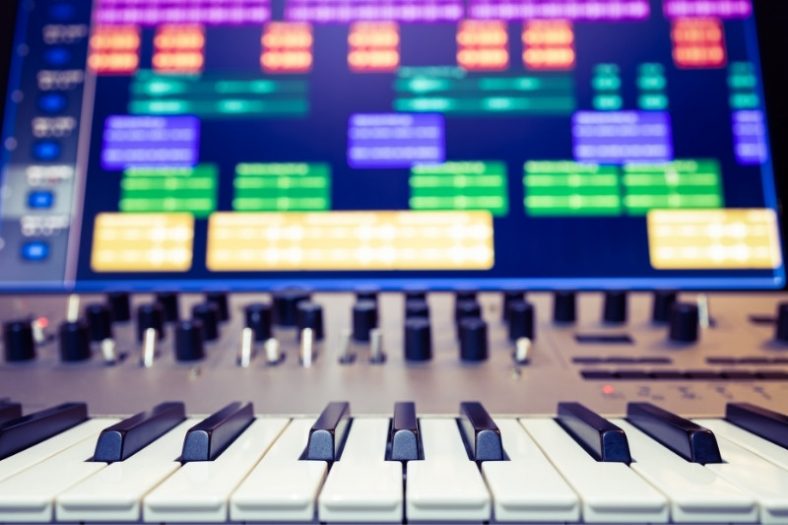
The most precise way of identifying clipping in music is to use a peak meter. Peak meters can be found in most mixers, whether they’re digital or analog. All digital audio workstations (DAW) feature a peak meter, which is used to measure the level of an audio signal that is passing through it. In peak meters, the occurrence of clipping is represented by the color red. When a track or waveform goes from green to red, that means it’s clipping. Clipping is more prevalent and nuanced in analog systems, but all digital clipping simply refers to the point in which an audio source is playing at more than 0dB—the maximum allowed limit.
Without a peak meter, digital audio clipping can be identified by looking at the waveform. A good-sounding waveform should have round edges (like a sine wave), a decent amount of headroom (represented by blank space), and no squared edges. When the waveform passes beyond its maximum limit, it gets flattened. If you can spot a straight line on the top of a waveform, then it means it is totally or partially clipped.
You can also identify clipping by using a very underrated piece of musical equipment: your ears. Clipped tracks have a distinctive sound, which can cause speakers to fail and reduce sound quality considerably. In music production, it’s easy to tell that a track is clipping when one sound (such as a loud kick drum, for instance) cuts through the entire mix so loudly that all the other sounds get temporarily mute.
How to fix clipping?
There are two ways of fixing clipping in music: by lowering the volume or gain of a track or by applying an audio effect to it, which is typically a Limiter or a powerful Compressor.
Fixing clipping in analog audio is all about using volume responsibly and paying attention to the peak meter. If the meter goes red, then the track is clipping and its volume or gain should be lowered accordingly. This process should be repeated anytime a new effect—such as guitar distortion, for instance—is added to a sound source.
In digital audio, clipping is normally fixed by using some brute force, namely a brick-wall Limiter that instantly prevents a waveform from going beyond a maximum allowed point. Most Limiters are set to a very high threshold, normally between -0.5dB and 0dB. Naturally, balancing volume can also be effectively used to prevent digital clipping.
If you’re working with digital audio, you can quickly fix clipping at every stage of the process. But does this mean you shouldn’t be concerned about clipping? Not really. Paying attention to clipping is still a music-production must, especially during the recording stage.
Why should clipping always be avoided during recording?
Clipping should always be avoided during recording because a recorded clipped track will never sound as good as a properly-recorded track. When you record a track that’s being overdriven, your system will not correctly pick up all of its frequencies. In the end, you will have a square-edged waveform that can still be processed and compressed. However, you will never be able to recover the missing frequencies that have passed beyond the limit of 0dB, i.e. the frequencies that have been distorted by clipping.
When recording, you should use some gain to make sure the recorded track isn’t too quiet. But most importantly, you shouldn’t allow it to get anywhere near 0dB. Keep in mind that making a recording sound louder without damaging its sound quality is a fairly straightforward process (a bit of gain should do it). However, fixing clipped frequencies in a recording is virtually impossible. Sure, you can always prevent the recording from clipping by using a Limiter. However, you will never be able to deal with the irreversible damages to sound quality already caused by clipping.
How to use a Limiter
Analog Limiters are pricey and not very commonplace in the digital-audio day and age. It’s understandable: after all, using a digital Limiter can be as easy as drag-and-dropping an audio effect to the master channel of a DAW.
Most music producers apply a Limiter to their DAW master channel to deal with all the clipping issues in a track. And this easy hack works like magic 99% of the time. However, it’s important to know how to correctly apply a Limiter to a track by understanding its features. While many producers don’t even try to tweak their Limiter, often going with the standard preset, a bad Limiter can negatively affect the dynamics of a track, rendering it flatter and less punchy.
There are three main features common to most Limiters that are essential to keep in mind. Don’t be afraid to tweak these to make your track sound better, but make sure you know what they’re used for first:
Ceiling/threshold: The fundamental component of any Limiter effect, the ceiling (sometimes referred to as threshold) indicates the maximum level of the output of a limited track. In a master channel Limiter, you will want the ceiling to sit anywhere between -0.5dB and 0dB to make sure that your track is playing as loudly as possible without clipping. Using Limiters with lower ceiling values in individual tracks is a great way of fine-tuning a mix and can be a quicker-to-use alternative to a regular Compressor.
Lookahead/attack: The lookahead/attack is the setting that indicates how quickly the Limiter will respond to the peaks. In compression, a fast attack is quicker at solving clipping issues but can cause distortion; a slow attack can let some nasty peaks through but doesn’t normally affect sound quality. A Limiter’s lookahead is basically the same thing: punchy EDM tracks with very loud transients tend to require a fast attack and can deal with some distortion, while tracks with quieter transients (like a folk song, for instance) do just fine with a 6ms or higher lookahead time.
Release: Often ignored, a Limiter’s release is fundamental for ensuring that the dynamics in a track are correctly maintained after all the clipping issues are solved. Release sets how long it takes for the Limiter to stop after the volume is dropped below the ceiling level. Limiter release tends to be set to an automatic value, but don’t be afraid to experiment with it. Too much release in a Limiter can make a track sound muffled, especially if it has transients with a short decay. In my experience, setting the release time at less than 100ms can have a positive effect on the dynamics of a track, allowing for the sounds in-between transients to pop out more clearly and brightly.
Is audio clipping always bad?
Audio clipping is not always bad, and many clipping-based audio effects can sound wonderful. Distorted guitars, for instance, are based on extreme overdriving, which is clipping in a nutshell. Clipping can also be very useful for adding interesting harmonics to some sounds, especially if you’re using a saturation effect.
Ableton Live’s Saturator is great for experimenting with clipping because it allows you to drive a source as much as you want without hitting red in the peak meter. To avoid clipping with Ableton Live’s Saturator, all you have to do is press the ‘Soft clip’ switch, which prevents the output from clipping regardless of the amount of distortion applied to the track.
Summary
Audio clipping is a waveform distortion caused by exceeding the allowed maximum point, which normally occurs when a sound source goes beyond 0dB. It mainly affects digital audio and can be fixed by using a limiter or reducing the signal level.
Paying attention to clipping during recording is essential because of its irreversible damages to overall sound quality (it’s difficult to fix clipped frequencies). However, clipping isn’t always bad and can be used to create interesting effects. In the end, it’s up to the producer to decide when and how to use clipping in their music.