11 Tips for Tracking Bass to Improve Your Recordings
To make sure that the bass fits properly into a song, the bass player and recording engineer must make certain decisions while tracking. Here are 11 helpful tips for both before and after you hit the record button for a great bass recording:
Contents
- 1. Choose the Right Bass
- 2. Setup and Maintenance Before Recording
- 3. Your Bass Strings Matter
- 4. Tonality: Fingers or pick?
- 5. Choose the Best Signal Path
- 6. Pick a Good Preamp
- 7. Compression and Dynamic Control
- 8. Familiarize and Rehearse
- 9. Always Check Your Tuning
- 10. Get it Right at The Source
- 11. Serve the song, not your ego!
- Final thoughts
1. Choose the Right Bass
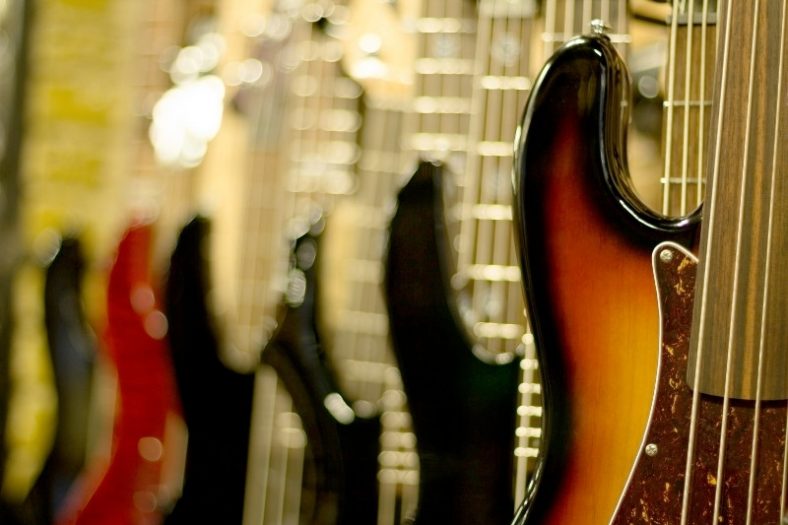
Do you need the thundering rumble of a Precision Bass? The clean treble of a Jazz bass? Or the aggressive growl of a Rickenbacker to pierce through the mix? Extended range, modern Soapbar pickups, or would you rather stick to the bass you know and are most comfortable with and sculpt the tone accordingly?
Choosing the best bass guitar for the job is a function of both purpose for the style of music and playing comfort for the individual player. However, this applies to the pros as most of them have the privilege of owning more than one instrument to get the job done. Moreover, if you are recording for others, have a chat with the recording engineer and artist to ensure you are all on the same page.
2. Setup and Maintenance Before Recording
Though you can choose to have a lot of flexibility in tone for post-processing by going through a DI, there are some settings you must commit to on the instrument itself.
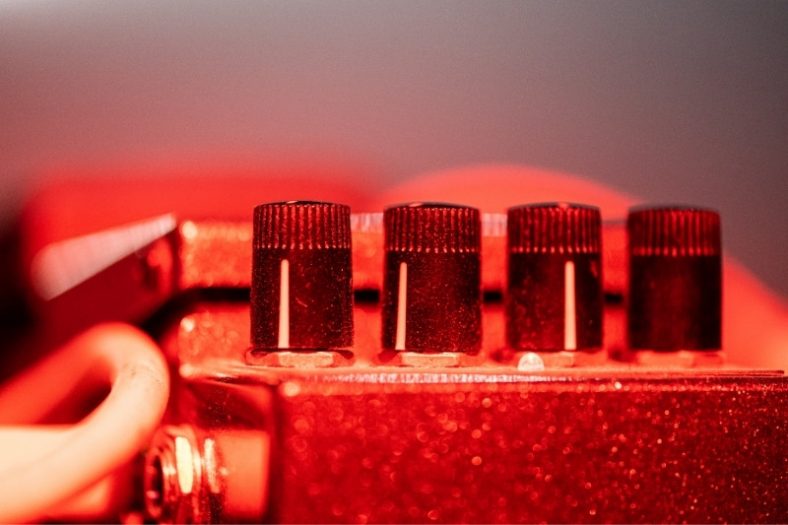
Do you want the warmer, rounder sound of the neck pickup, or the brighter thinner sound of the bridge pickup, or a middle position to get both?
Experiment with your tone knob and onboard EQ settings to find a sound that’s close to what the song needs right at the source.
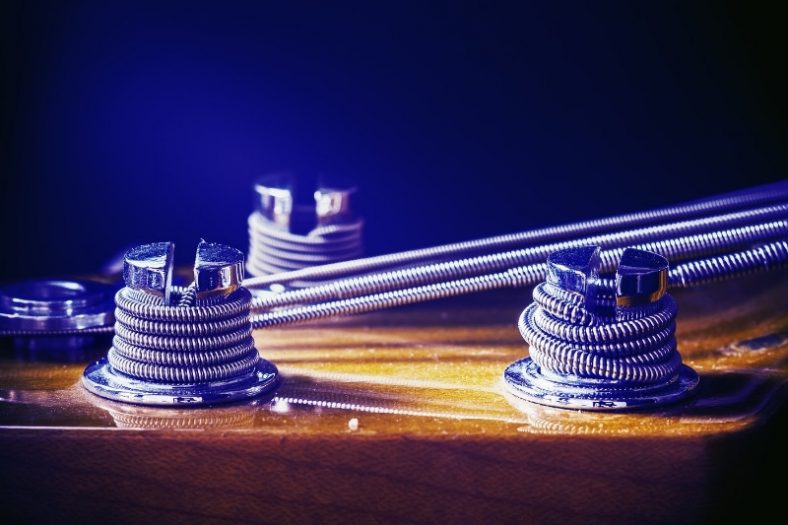
3. Your Bass Strings Matter
Though the debate over old strings vs new strings rages on, it’s a good idea to at least ensure that your strings aren’t rusted or in danger of breaking.
A new set of strings will sound more ‘lively’ and punchy with overtones and harmonics, but some bassists swear by old strings and their flatter, ‘duller’ sound, which can be heard on a lot of Motown records. Listen for yourself and decide what best suits you and your playing style.
Although older strings have a unique sound that takes away the attack and focused more on the vibrating sound, it is mindful to know when old is too old and needs changing.
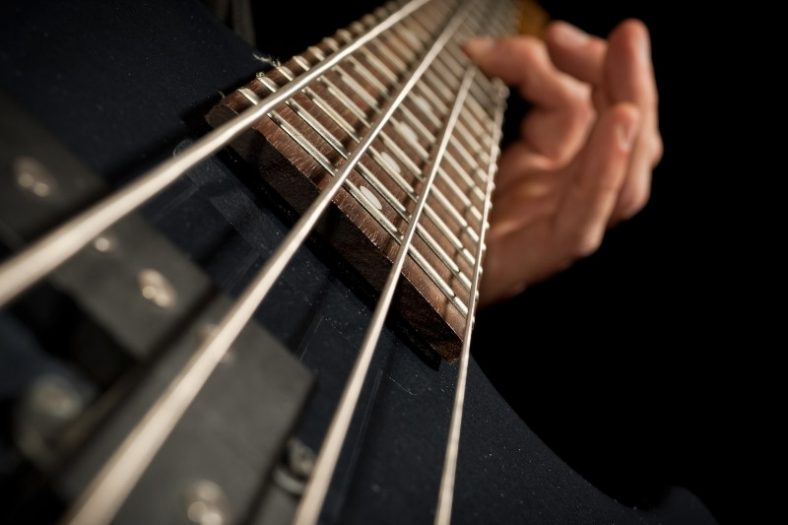
4. Tonality: Fingers or pick?
A pick, your fingers, or your thumb – your right-hand technique will considerably affect the tone of your bass. You may need to make adjustments to your EQ or dynamics to compensate for it.
If a single song requires you to switch articulations for different parts, it’s a good idea to dial in different settings and record them separately to ensure a consistent sound.
In general, playing with a pick sounds much brighter with a sharper attack, while fingers produce a more rounded tone with a gentler attack. They both have their uses.
Pick attack sounds great in driven genres like metal and rock, but it may not be ideal for reggae, jazz, or other dynamic genres.
5. Choose the Best Signal Path
You could plug your bass directly into the input through a di box, or mic up a bass amp in a live room, or get the line out from a bass amp into the console, or use a combination of all these techniques. They each have their advantages.
Going direct via a DI box gives you the most flexibility in post-production. It gives you the raw uncolored sound of your bass which can then be processed.
A DI signal can be run through virtual amp simulations and effects, or even re-amped into multiple real amps in post. The raw DI tone catches the attack and nuances of the playing well and can be blended in to bring out detail in the mix.
If you’re very sure of your particular amp and mic combination and want some color from the recording room itself, then miking up an amp can produce very natural, organic results.
Keep in mind that this method requires most commitment at the source, as the tone cannot be substantially altered once recorded this way.
A good option often used in modern recordings is to record both DI and the amp sound in parallel through an A/B splitter box, to get the best of both worlds. If you’re recording in a home studio and don’t have a treated live room available, taking a line out from a bass amp is a good way to get the amp’s character without interference from an untreated room.
6. Pick a Good Preamp
A preamp is an electronic device used to cleanly boost the weak instrument signal up to line level to work with recording equipment and loudspeakers.
The quality of the preamp also affects the final tone of the instrument being recorded, in this case, the bass.
Recording consoles usually have inbuilt preamps, sometimes with the ability to bypass them in favor of using an external preamp.
Classic preamps like the Neve 1073 and its myriad emulations are renowned for their characteristic desirable coloring of the signal. Other preamps might be designed to be as transparent as possible to bring the signal to line level with no coloration.
A good preamp is essential to ensure your signal chain doesn’t fall apart at the final stage before recording. Great gear, if put through a subpar preamp may end up sounding disappointing.
7. Compression and Dynamic Control
If your playing is very dynamic, i.e. there is a significant volume difference between the quietest and loudest portions, it might be a good idea to go into a compressor before hitting the console.
This is also useful for recording slap and pop parts which feature sharp transients to prevent the input from clipping or distorting. 1176 style compressors usually work well with bass, but be sure to not overdo it and not leave room for flexibility in the mix.
Once you’ve consulted these tips to ensure you’re optimally set up before hitting record, consider the following guidelines during the actual tracking for nailing the session.
8. Familiarize and Rehearse
This instruction is really not exclusive to bassists at all but is important (and still ignored) enough to warrant a mention anyway. Be sure that you’re well prepared with all your parts before entering the studio.
The confidence arising from this will make work fast and efficient.
Overly stretched recording sessions only lead to fatigue and frustration, so do your practice before hitting the studio. They add to the cost, devalue your talent, and can be generally unpleasant for everyone involved.
The confidence in your playing, in turn, can allow you to focus on relaying your musicality and charisma to elevate the music to the next level.
9. Always Check Your Tuning
This may seem a tad obvious but it is highly overlooked. Great instruments usually tune well but they aren’t impervious to falling out. As musicians, we can get caught up in the histrionics of the studio and song and forget the need to check the tuning right before a take.
There is nothing more aggravating than delivering a solid take only to realize that the bass is a bit too flat.
Ensure you’re in tune at the beginning of the session, and keep checking periodically during the session to see if any strings have gone slightly off-pitch, as they often do after a lot of playing or due to climate conditions.
It only takes a minute but it can spare you the remorse of having to replicate a good recording all over again.
10. Get it Right at The Source
While you might have a lot of flexibility in tone sculpting in the mix stage, do not depend on the mix engineer to correct actual mistakes in playing.
Do multiple takes and get the tightest performances possible right from the get-go.
Small issues can be cleaned up, but a sloppy performance cannot magically become a tight one. Take care of note lengths and releases, and comp in specific parts if you need to.
If you’re tracking to a drum recording, ensure the drums have been requisitely corrected first to not throw you off.
There is no shame in recording the take again. It is better to return once or twice than to figure out later that something wasn’t quite right.
11. Serve the song, not your ego!
This is as much a songwriting and composition tip as it is a recording tip.
Your individuality as a player is important, but the foremost consideration while making decisions about everything ranging from the notes you play to the tone you select is if and how it most benefits the song in question.
If you’re playing in a band context, find a way to make your instrument work as a part of the whole, and not as a singular element.
Final thoughts
If you follow these tips throughout your musical journey, you will most likely be better at the process than before.
Most of these tips are stuff the people overlook due to their simple nature, however, they are still crucial parts of this process.
While these are undoubtedly helpful points to nudge you in the right direction, this list is by no means exhaustive.
I encourage you to experiment and discover what helps you translate your musicality and expression onto record the best.