30 Great Keyboard Shortcuts for Ableton Live 10
Ableton Live 10 is an incredibly versatile digital audio workstation (DAW). Keyboard shortcuts can help you speed up your workflow, so you can focus on making great music.
These keyboard shortcuts include actions such as:
- Navigating around the DAW
- Editing and manipulating clips across all tracks in one command
- Working with MIDI notes
- Quickly zooming in and out
- Adjusting octaves and velocity for the computer MIDI keyboard
- Quantizing
- and much more!
Contents
- 1. Switching Between the Arrangement and Session View
- 2. Start Recording
- 3. Duplicate
- 4. Make Editing Actions Apply to All Tracks.
- 5. Cut, Copy, Paste, Undo, Redo, Rename, Select All
- 6. Reverse Clip
- 7. Insert a new MIDI Clip
- 8. Insert Scene (Session View)
- 9. Loop Selection
- 10. Split Clip at Selection
- 11. Consolidate Clips
- 12. Activate and Deactivate Selection (Clips and MIDI Notes)
- 13. Fade-In/Out & Crossfade
- 14. Toggle Computer MIDI Keyboard
- 15. Adjust Computer MIDI Keyboard Octave and Velocity
- 16. Zoom In and Out From Selection (Computer MIDI Keyboard must be disabled)
- 17. Insert Audio Track
- 18. Insert MIDI Track
- 19. Rename Selected Track
- 20. Group Tracks
- 21. Expand/Collapse Groups
- 22. Solo Selected Track(s)
- 23. Drag Without Clipping to Grid
- 24. Quantize Selection
- 25. Move MIDI Notes Up/Down and Octave
- 26. Search
- 27. Show/Hide Browser
- 28. Enable MIDI Mapping Mode
- 29. Toggle Full Screen Mode
- 30. Toggle Second Window
- Summary
1. Switching Between the Arrangement and Session View
Windows/Mac: Tab Button
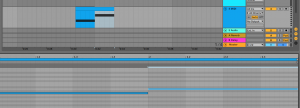
Ableton is a stand-out DAW due to its ability to be used through two great views: the arrangement view and the session view.
The arrangement view uses a standard DAW timeline. The session view uses a grid system that Ableton has become known and loved for.
Pressing the TAB button switches between these views. Easy!
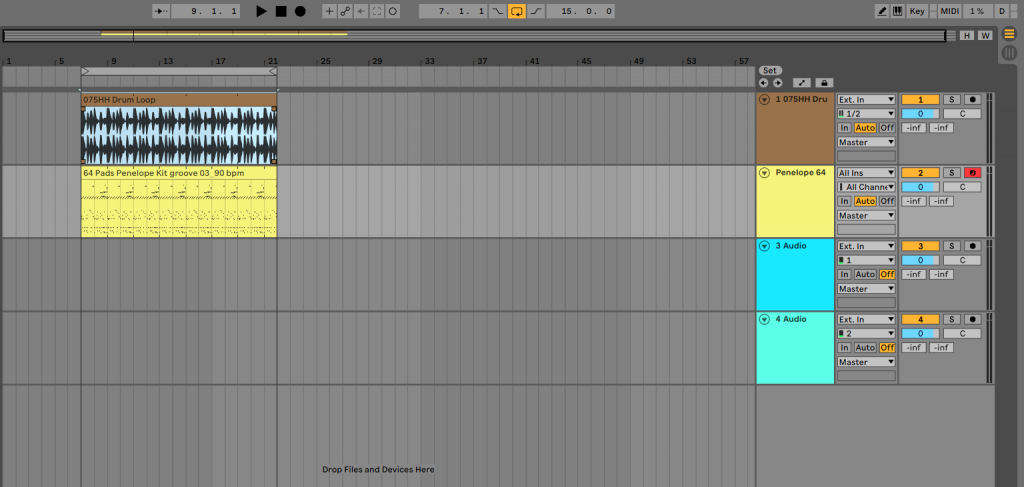
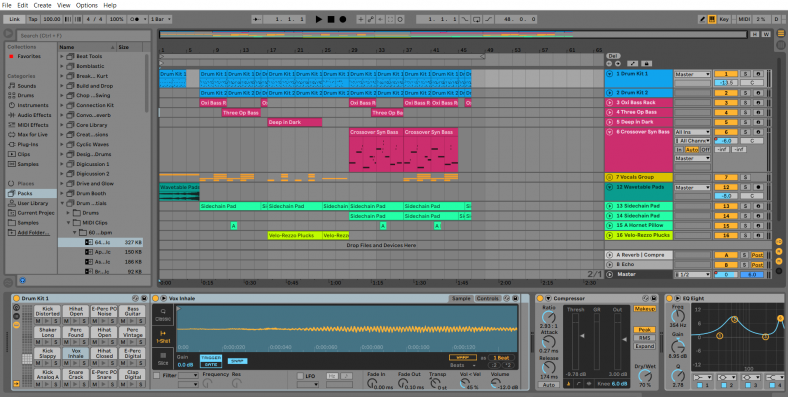
Arrangement View
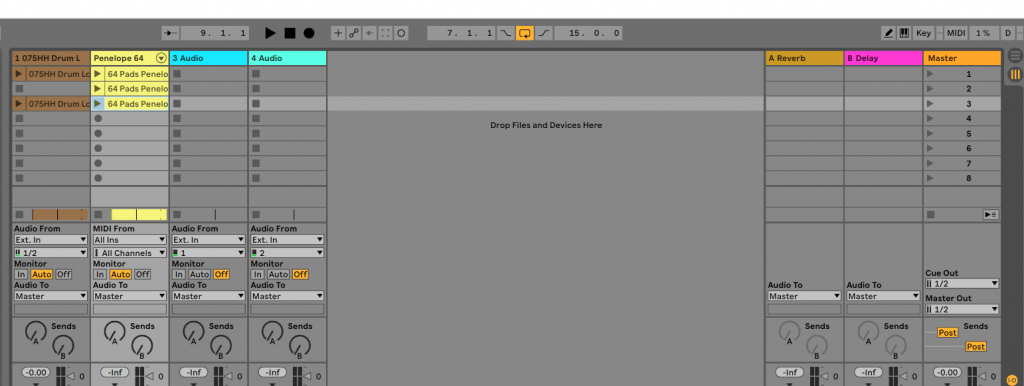
Session View
Tip: Press the TAB button while dragging a clip to place it from the arrangement view to the session view!
2. Start Recording
Windows/Mac: F9
Press F9 at any stage to start recording. This can be pressed even if playback is already occurring.
3. Duplicate
Windows: Ctrl + D
Mac: Cmd + D
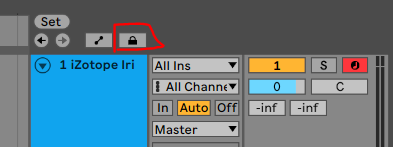
Select a clip and press Ctrl + D. It will duplicate it.
Note: Keep in mind, if you want to copy envelopes and automation, make sure that the ‘Lock Envelopes’ button is disabled.
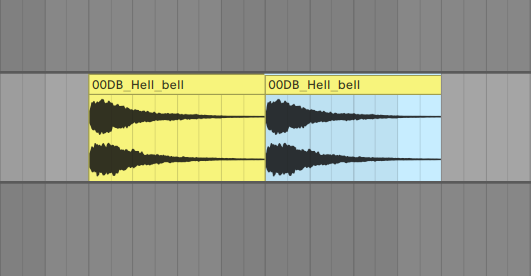
4. Make Editing Actions Apply to All Tracks.
For example:
Duplicate selection for all tracks:
Windows: Shift + Ctrl + D
Mac: Shift + Cmd + D
Delete an entire section of the track and move everything else back:
Windows: Shift + Delete
Mac: Shift + Delete
5. Cut, Copy, Paste, Undo, Redo, Rename, Select All
You probably know most of these keyboard shortcuts, but just in case, we included a piece from the Ableton Manual below:
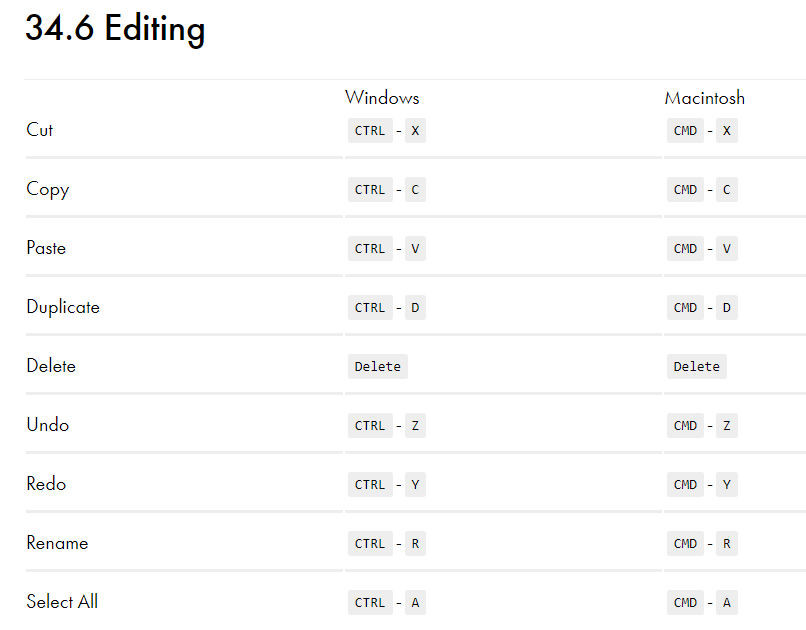
Image Source: Ableton Live 10 Manual
6. Reverse Clip
Windows/Mac: R
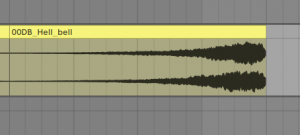
Select an audio clip and press the R button, it will reverse the clip. You don’t need to right-click and press the ‘reverse’ button anymore!
7. Insert a new MIDI Clip
Windows: Ctrl + Shift + M
Mac: Cmd + Shift + M
This is one of my favorite Ableton Live keyboard shortcuts. Make a selection on any part of the MIDI timeline and press the above keyboard combination. It will create a blank MIDI clip for you!
8. Insert Scene (Session View)
Windows: Ctrl + I
Mac: Cmd + I

When in the session view, use this key combination to add a new scene
9. Loop Selection
Windows: Ctrl + L
Mac: Cmd + L
Make a selection and press this key combination to place the loop markers around that part of the timeline.
10. Split Clip at Selection
Windows: Ctrl + E
Mac: Cmd + E
Make a selection and press this key combination to split clips. You can also right-click and select it from the context menu, but pressing this will save you time.
11. Consolidate Clips
Windows: Ctrl + J
Mac: Cmd + J
Make a selection and press this key combination to consolidate clips together. This works for both audio and MIDI clips.
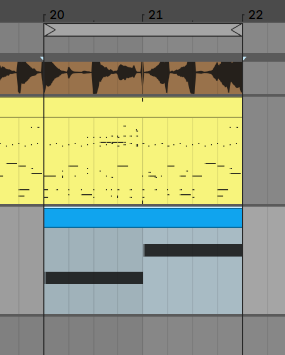
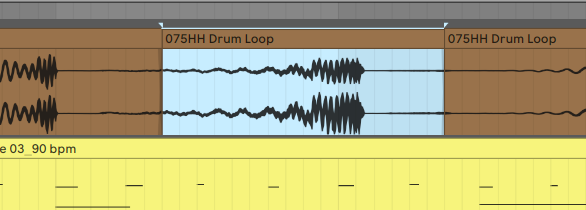
12. Activate and Deactivate Selection (Clips and MIDI Notes)
Windows/Mac: 0
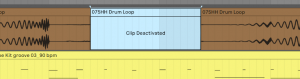
Press the 0 (Zero) button to activate and deactivate your selection. This works for both clips and midi notes. If you only select a segment of a clip, it will split the clip and only deactivate the area that you have selected.
This is a VERY useful keyboard shortcut. It is also great when editing MIDI. The ability to quickly toggle your selection means that you don’t need to delete them and you can reintroduce parts to the track later if necessary.
13. Fade-In/Out & Crossfade
Windows: Ctrl + Alt + F
Mac: Cmd + Alt + F
Select the start of a clip and press this combination, it will create a fade-in. Pressing this with a selection at the end of a clip will create a fade-out.
Selecting this on overlapping clips will create a cross-fade.
These are very useful features and saves you some time in the workflow from having to automate volume.
14. Toggle Computer MIDI Keyboard
Windows/Mac: M
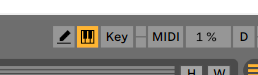
Enable and disable the computer MIDI keyboard by pressing M.
15. Adjust Computer MIDI Keyboard Octave and Velocity
Adjust Computer MIDI Keyboard Octave Range Up/Down
X and Z keys
Adjust Computer MIDI Keyboard Incoming Note Velocity Up/Down
C and V keys
When the Computer MIDI Keyboard is enabled, pressing the above key combinations will change the octave and velocity.
When I first started using Ableton Live, I was initially stumped at how to do this (I probably should have read the manual!).
16. Zoom In and Out From Selection (Computer MIDI Keyboard must be disabled)
Zoom In:
Windows/Mac: Z
Zoom Out:
Windows/Mac: X
This is an extremely useful command. Make a selection and press the Z button, it will zoom in so that your selection fits the screen. Press X to zoom back out again.
If you’re the type of person that is constantly tweaking automation and clips on your DAW, this is going to save you a LOT of time! This is even more useful if you work off a small screen, such as a laptop.
17. Insert Audio Track
Windows: Ctrl + T
Mac: Cmd + T
Insert a track that can be used for audio samples.
18. Insert MIDI Track
Windows: Ctrl + Shift + T
Mac: Cmd + Shift + T
Insert a track that can be used for MIDI clips.
19. Rename Selected Track
Windows: Ctrl + R
Mac: Cmd + R
It’s good to stay organized. Press this key combination to rename your current track.
Tip: Press TAB and SHIFT + TAB to move back and forth between tracks while renaming.
20. Group Tracks
Windows: Ctrl + G
Mac: Cmd + G
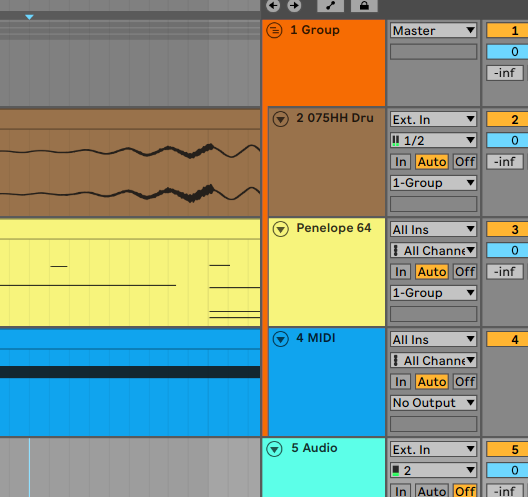
Select more than one track and use this key combination to group them together.
21. Expand/Collapse Groups
Windows: + and – buttons
Mac: + and – buttons
Use the plus and minus buttons to quickly expand and collapse groups. This is very useful if you are working with many tracks at once and need to quickly navigate.
22. Solo Selected Track(s)
Windows/Mac: S
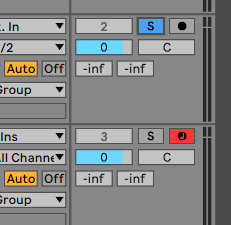
Just press the S button to solo the selected tracks. This is useful if you want to solo multiple tracks at once, just select multiple tracks at once (either by Shift-clicking on them or Ctrl/Cmd clicking on them) and press S.
23. Drag Without Clipping to Grid
Windows/Mac: Alt (and drag the clip with your mouse)
The grid is very useful for keeping everything in time, but sometimes you don’t want that constraint. Bypass it by holding ALT and drag the clip with your mouse.
24. Quantize Selection
Windows: Ctrl + U
Mac: Cmd + U
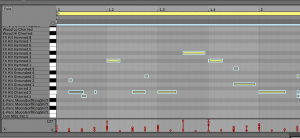
Make a selection in the MIDI editor and press Ctrl/Cmd + U. It will snap your notes to the grid. Press Ctrl/Cmd + Shift + U to open the Quantize settings. There you can set what notes you want to quantize to (e.g. 1/4 notes, 16th notes), where to adjust the note from, and the amount of quantization.
25. Move MIDI Notes Up/Down and Octave
Windows/Mac: Shift + Up, Shift + Down
You can move selected MIDI notes around the editor by pressing the arrow keys. Pressing the SHIFT + Up button or the Shift + Down button moves the notes up and down an octave respectively.
26. Search
Windows: Ctrl + F
Mac: Cmd + F
Quickly move the cursor to the search box by pressing Ctrl/Cmd + F.
27. Show/Hide Browser
Windows: Ctrl + Alt + B
Mac: Cmd + Alt + B
This is a very useful shortcut if you’re using a smaller screen, such as a laptop. Quickly toggle the visibility of the browser by using this key combination.
28. Enable MIDI Mapping Mode
Windows: Ctrl + M
Mac: Cmd + M
This is a very useful shortcut when you’re working with MIDI controllers. Simply press Ctrl/Cmd + M to open up the panel, where you can configure MIDI mappings and tweak mix/max settings.
29. Toggle Full Screen Mode
Windows/Mac: F11
This might seem like an obvious one, but it’s a great way to give you some extra screen space when working on a smaller screen. Toggle full screen mode by pressing F11.
It also helps remove some other distracting screen elements from your computer while you are working.
30. Toggle Second Window
Windows: Ctrl + Shift + W
Mac: Cmd + Shift + W
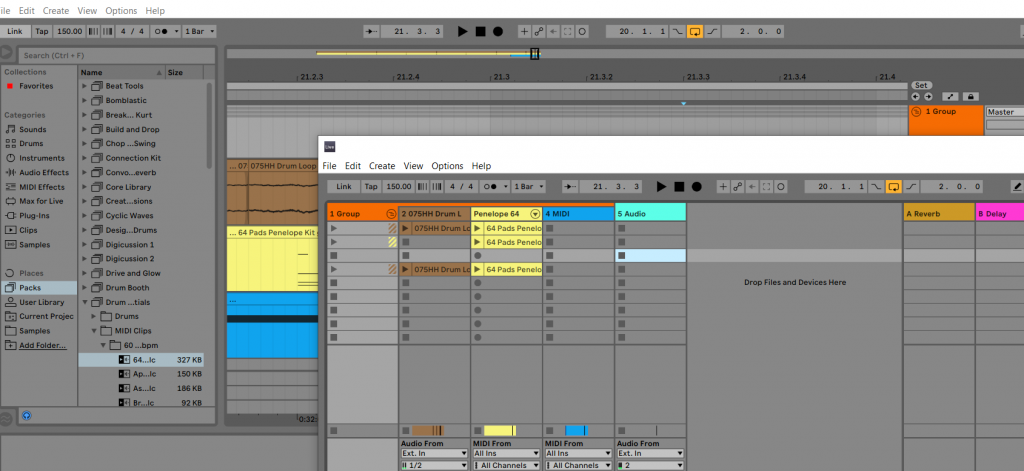
I was using Ableton Live for a VERY long time before I knew this feature even existed. Press this key combination to open a new window. It will open a new Ableton Live window of the alternative view. If you are currently in session mode then the new window will open up as an arrangement view.
If you toggle between the views (e.g. pressing the TAB button), it will switch the view type for both windows. So you will always have one session view and one arrangement view open at once. You can close the second window at any point by pressing the same key combination again.
Summary
So that’s our ultimate list of Ableton Live keyboard shortcuts. Make sure to use some of them right away and check back at this list again.
Practice these keyboard shortcuts until they become second nature to you. It will dramatically speed up your workflow and help you work much faster. Keyboard shortcuts allow you to do quicker and more efficient actions, which can really help your creativity as you can try and adjust things on the fly with great speed.
Do you have any other useful keyboard shortcuts that you think should be on this list? Write them in the comment section below.